
Want to make something fun and functional? Let’s dress up a can cooler with a custom ink design that’s perfect for summertime! This is a simple project, and once you learn how to heat set the ink, you’ll be hooked.
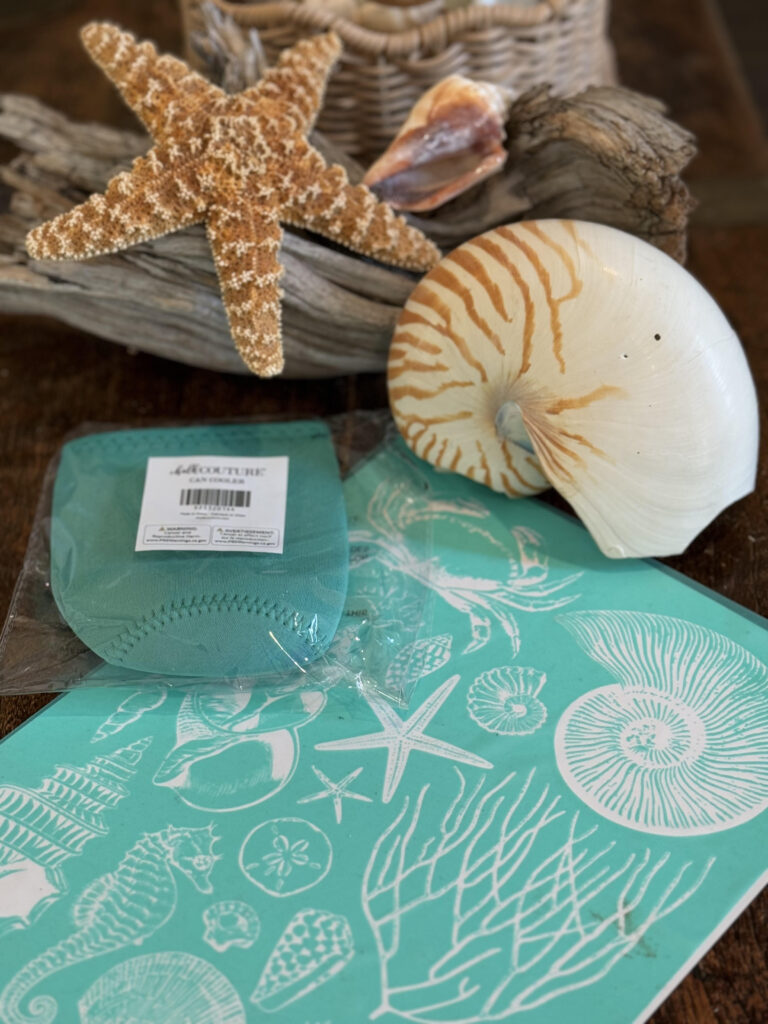
Supplies
supplies here
How To
Most times when using textiles, you need to use our Ink and heat set with a heat press or iron to make the design permanent.
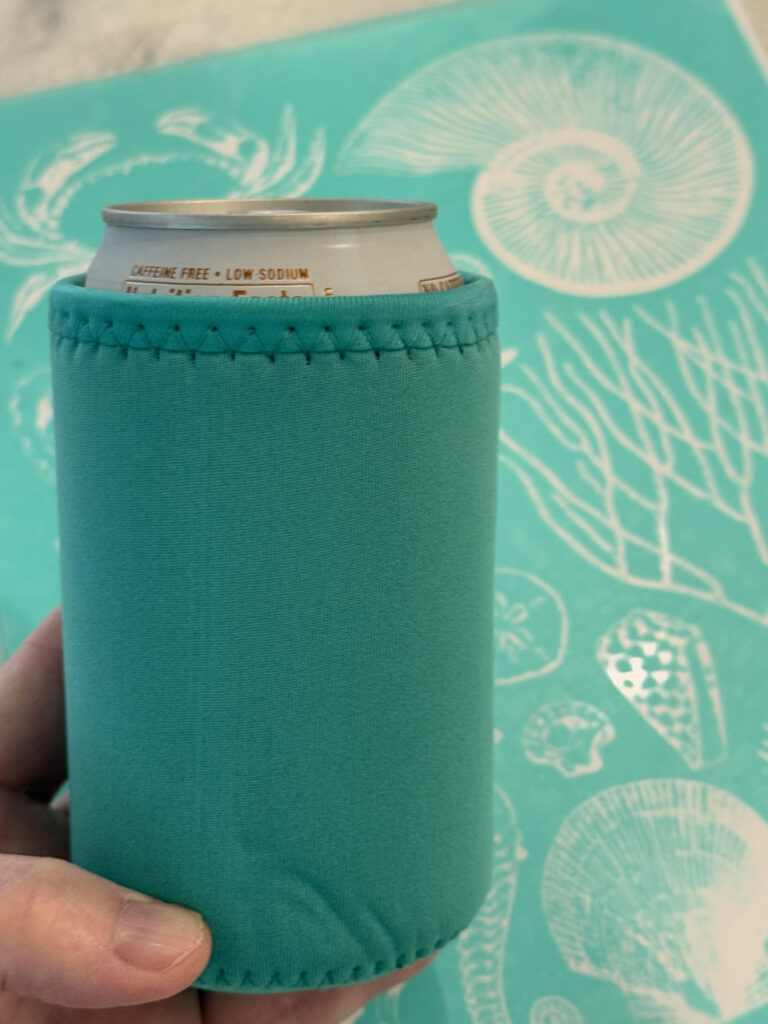
Choose design and make sure it fits the can cooler.
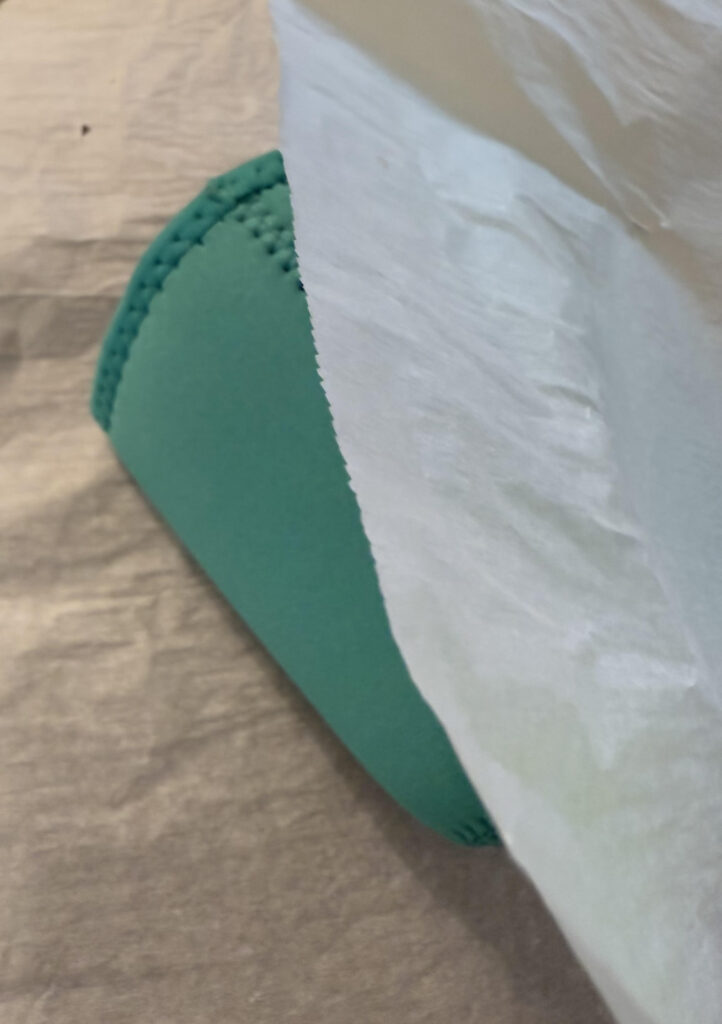
Place a can in the can cooler to make the surface firm which makes it easier to chalk without bleeds. There is a stitch line on one side, so make sure it is lined up in the back so it won’t interfere with the design.
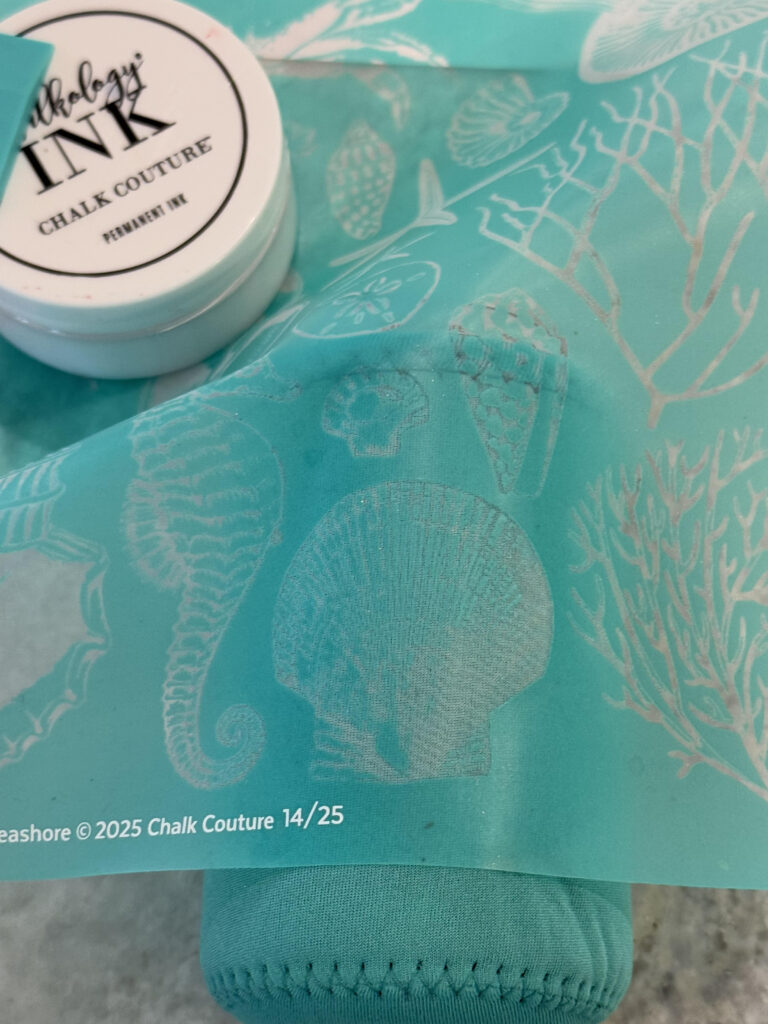
Place transfer on the can cooler evenly spacing the design between the top and the bottom of the can cooler. Smooth out transfer using your hands or a squeegee to reduce the risk of bleeds.
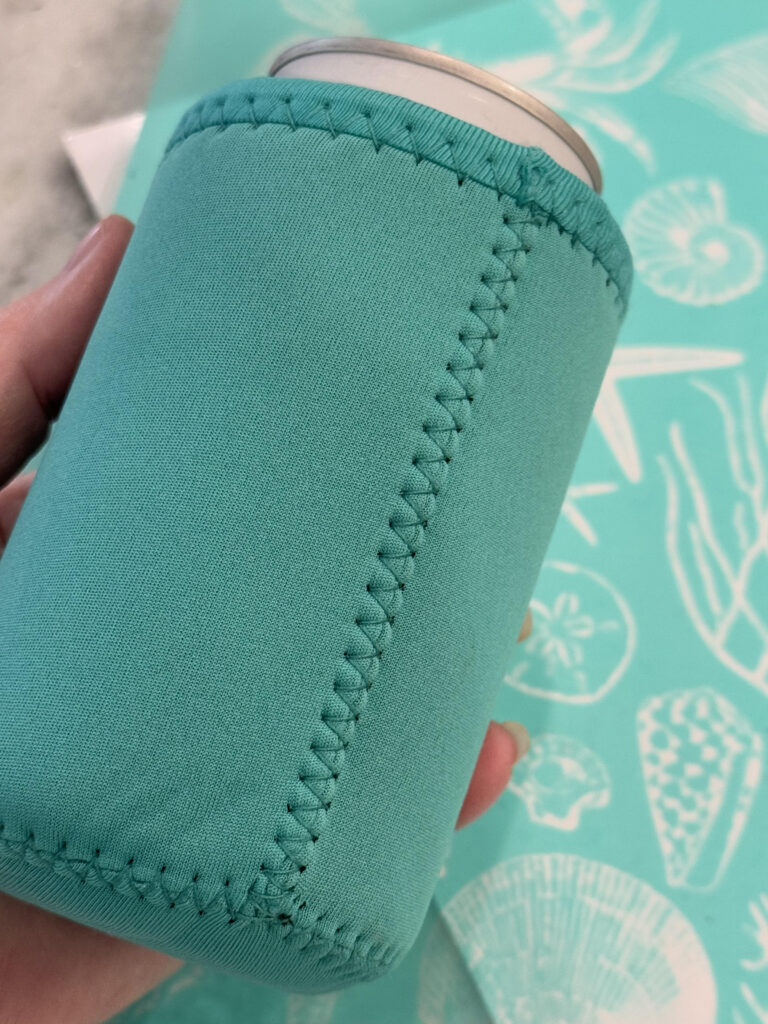
Apply INK covering all the areas of the silk screen with no areas left uncovered.
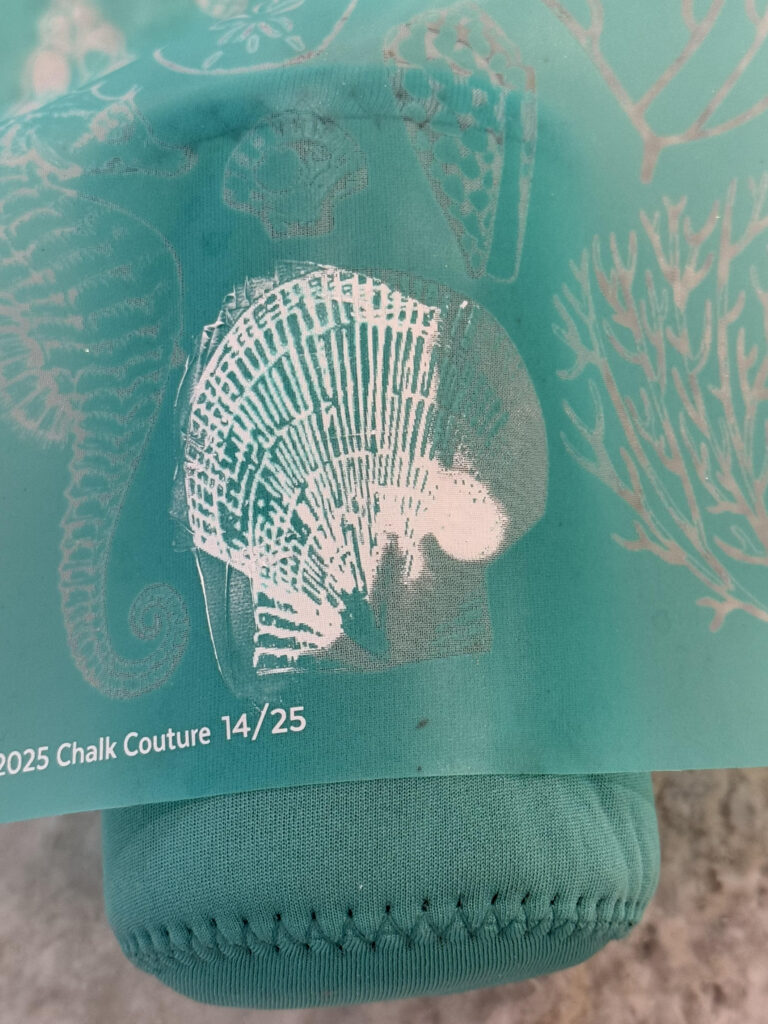
Peel transfer off slowly to reveal your finished project!
Let dry. Ink takes longer to dry than Chalk paste so you can use a drying tool(hair dryer) to speed the drying process. After it is dry, heat set the ink, using a heat press or iron.
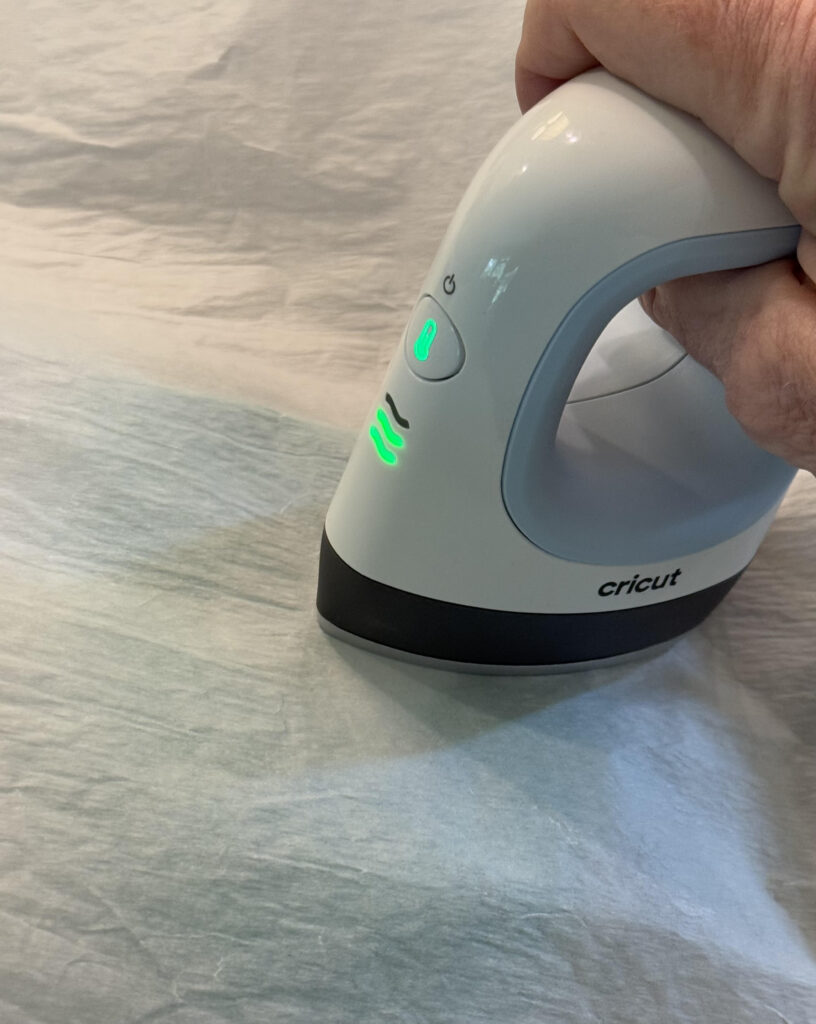
Pictured is the smaller heat press and set it on medium heat, then place parchment paper over the can cooler with design facing up, and move the heat press over the design for 30 seconds. Repeat this process with design facing down. If using the larger heat press, set temperature to 305 degrees for 30 seconds and repeat the process mentioned above on the front and back. If using an iron, set iron to medium heat and no steam. Repeat the process mentioned above, moving the iron slowly for 3 MINUTES each side.
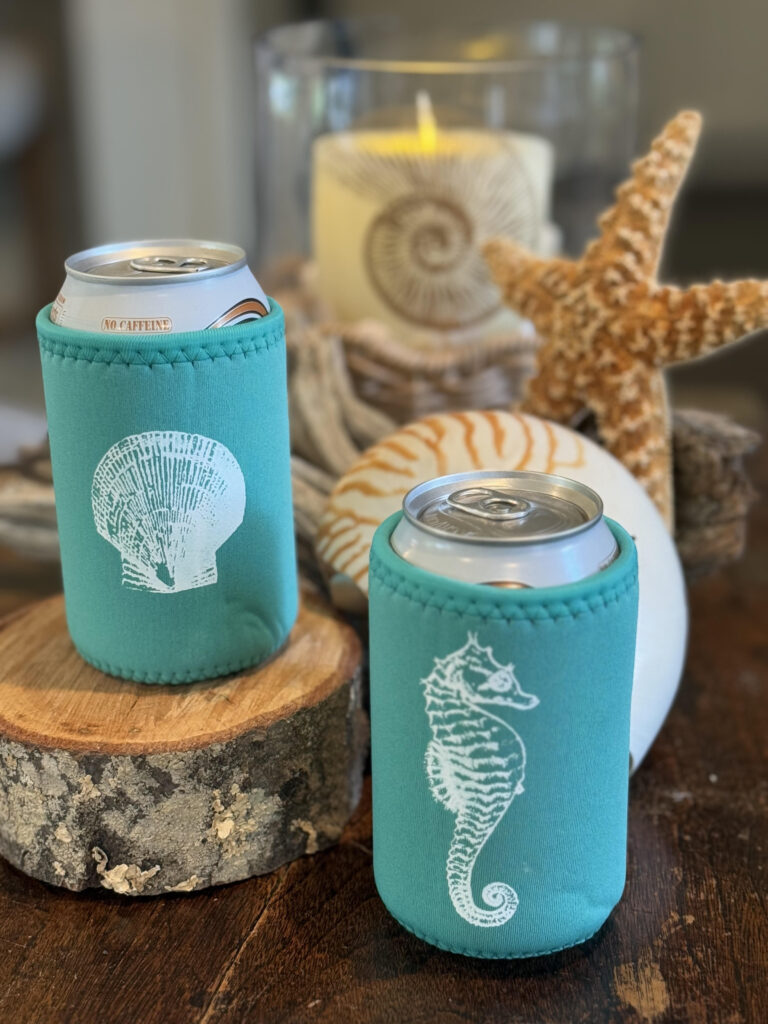
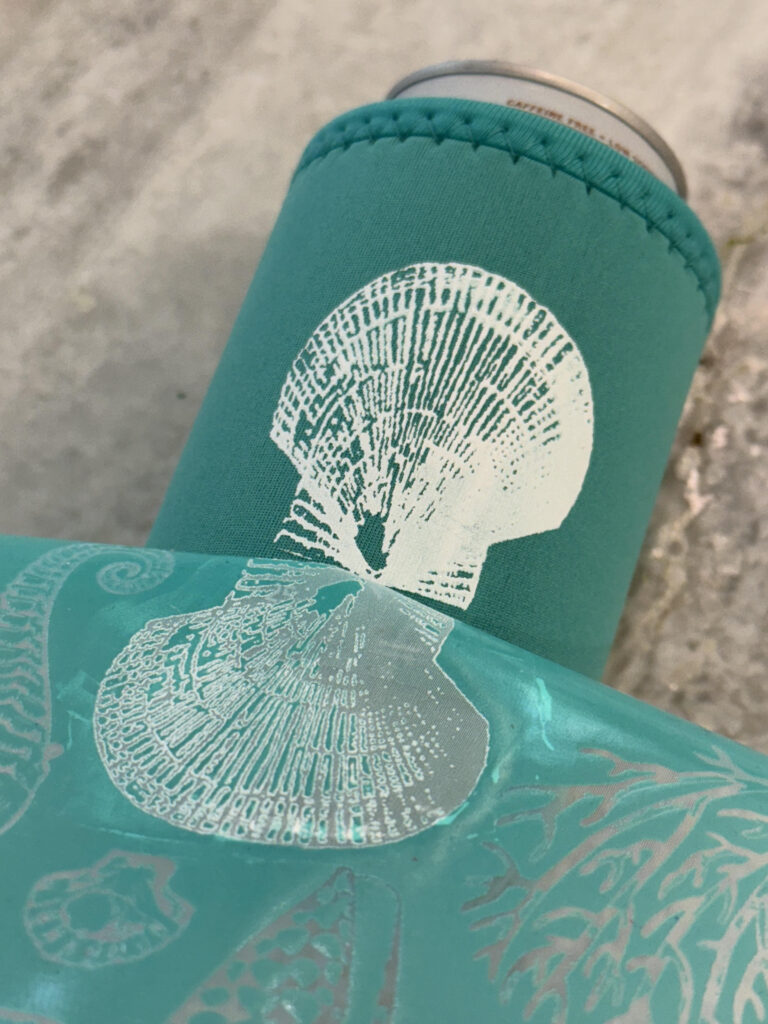
And now it is ready to use! Great for a beach trip or choose other designs for different occasions or ink initials. So many possibilities!! Happy Chalking!
Be sure to follow me on Facebook for craft tutorials/lives and more!